Add certificates
For a universe created on Kubernetes, YugabyteDB Anywhere allows you to configure an existing running instance of the cert-manager as a TLS certificate provider.
Prerequisites
The following criteria must be met:
- The cert-manager is running in the Kubernetes cluster.
- A root or intermediate CA (either self-signed or external) is already configured on the cert-manager. The same CA certificate file, including any intermediate CAs, must be prepared for upload to YugabyteDB Anywhere. For intermediate certificates, the chained CA certificate can be constructed using a command similar to
cat intermediate-ca.crt root-ca.crt > bundle.crt. - An Issuer or ClusterIssuer Kind is configured on the cert-manager and is ready to issue certificates using the previously-mentioned root or intermediate certificate.
- Prepare the root certificate in a file (for example,
root.crt).
Add certificates using cert-manager
Add TLS certificates issued by the cert-manager as follows:
-
Navigate to Integrations > Security > Encryption in Transit.
-
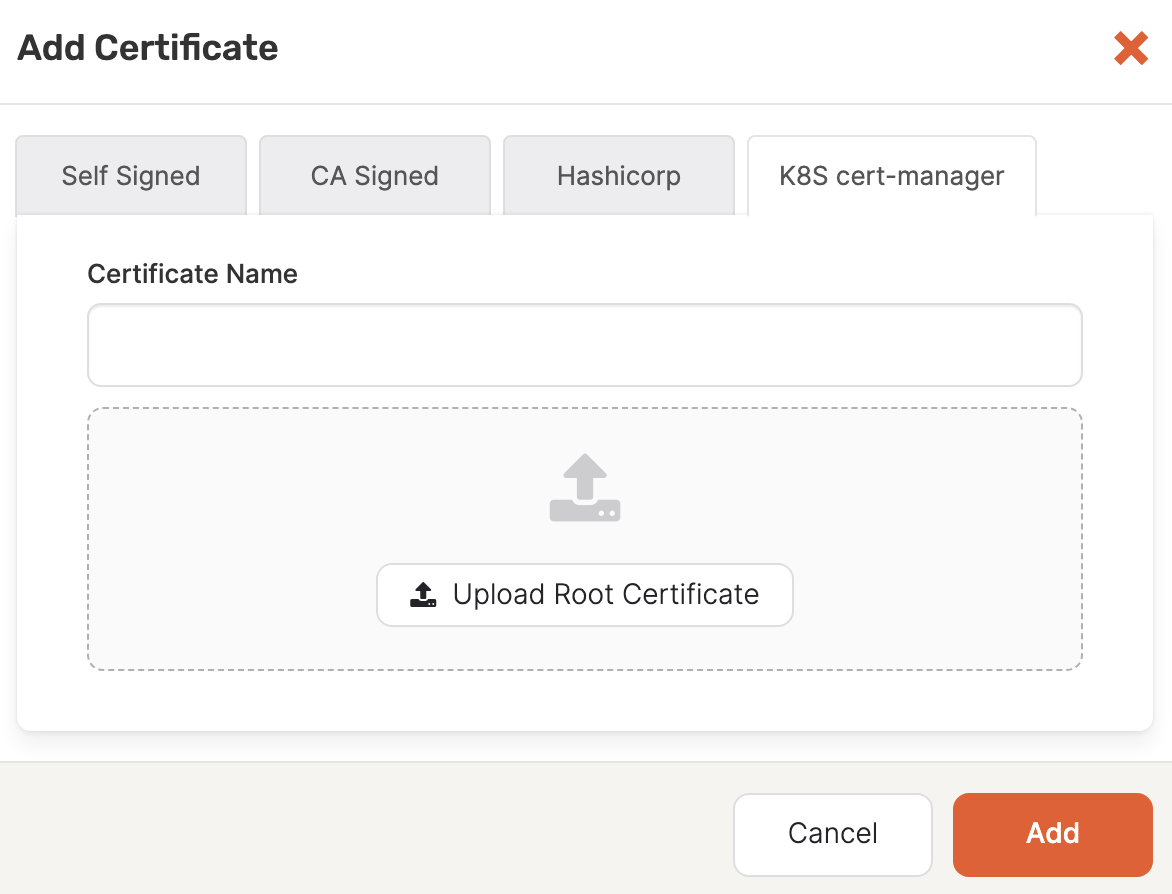
Click Add Certificate to open the Add Certificate dialog.
-
Select K8S cert-manager.
-
In the Certificate Name field, enter a meaningful name for your certificate.
-
Click Upload Root Certificate and select the CA certificate file that you prepared.
-
Click Add to make the certificate available.
Configure the provider
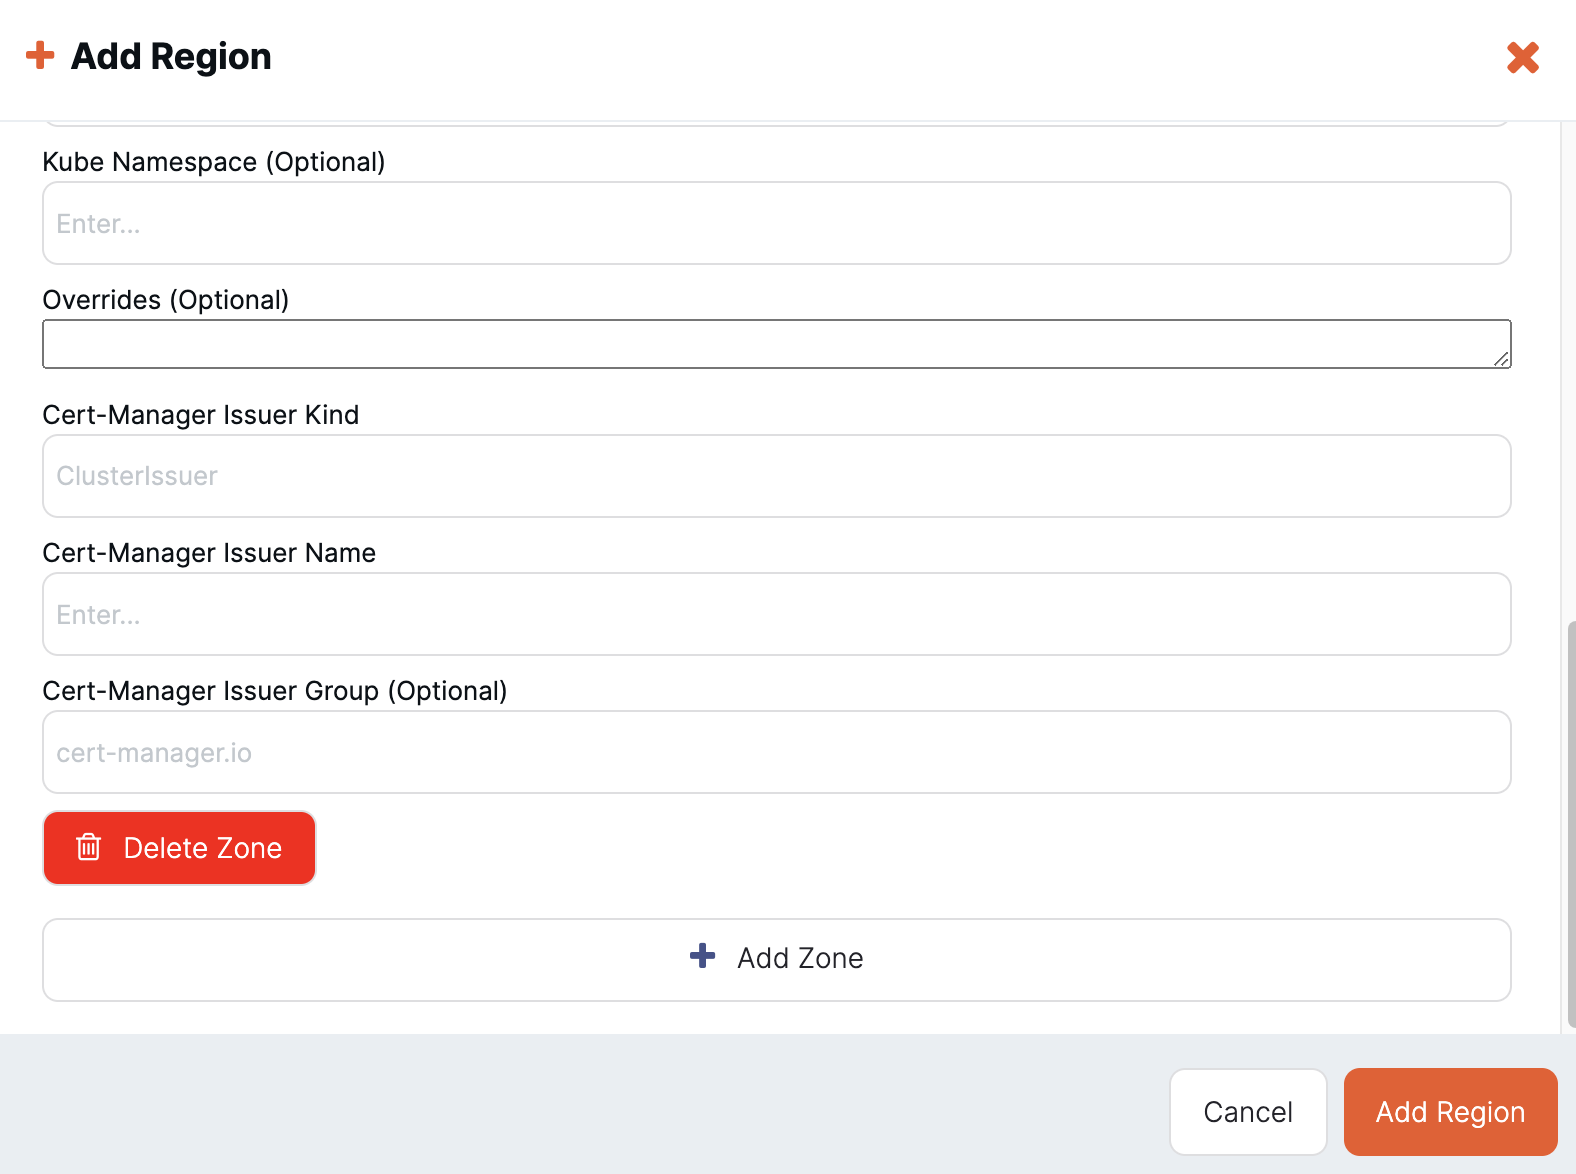
After the certificate is added to YugabyteDB Anywhere, set up the Kubernetes provider configuration by following the instructions in Configure region and zones.
When adding a region, you can specify the Issuer kind, Issuer name, and optionally the Issuer group for each zone.
Including the common name
If your certificate issuer (for example, for aws-privateca-issuer) requires the certificate to include the common name, set the following override for the provider region:
tls:
  certManager:
    certificates:
      commonNameRequired: true
When configured, YugabyteDB Anywhere sets the common name to the name of the service created for the pod, and adds common name to the certificate request sent to cert-manager.
Configurable common names
You can configure a custom common name suffix for cert-manager certificates using the following helm override:
tls:
  certManager:
    certificates:
      commonNameRequired: true
      commonNameSuffix: "yugabyte.com"
Rotate certificates in cert-manager
cert-manager monitors certificates and automatically renews them before expiration, based on the renewBefore setting in the Certificate resource. Ensure that your certificate resources are properly configured with appropriate renewBefore values (for example, 15-30 days before expiry) to prevent certificate expiration.
Rotate server certificates
To rotate server certificates:
-
Renew the cert-manager certificate resource that backs the universe server certificate as follows:
cmctl renew -n <namespace> <server-certificate-name>To rotate all certificates for the given universe in a given namespace, run the following:
cmctl renew -n <namespace> -l yugabyte.io/universe-name=<universe-name>If the universe spans multiple namespaces, add the
-Aoption to the command to mark certificates across namespaces for renewal. For example:cmctl renew -A -l yugabyte.io/universe-name=my_universe -
In YugabyteDB Anywhere, rotate server certificates.
Rotate cert-manager root certificates
To rotate root certificates:
-
Update the root certificate in the underlying cert manager issuer.
-
Add the new root certificate to YugabyteDB Anywhere.
-
Renew the cert-manager certificate resource as per step 1 of Rotate server certificates.
-
In YugabyteDB Anywhere, rotate root certificates.
Troubleshoot
If you encounter problems, you should verify the name of Issuer or ClusterIssuer in the Kubernetes cluster, as well as ensure that the Kubernetes cluster is in Ready state. You can use the following commands:
kubectl get ClusterIssuer
kubectl -n <namespace> Issuer